
How to Plan a Backyard Pavilion
Knowing how to plan a backyard pavilion is the difference between a structure you love for decades and one that misses the mark from day one. Whether you are picturing a shaded dining space off your kitchen or a full outdoor retreat with lighting and fans, the planning stage sets everything in motion.
Learn about every decision from purpose and style to permits and builder selection with Utah's unique climate and communities in mind.
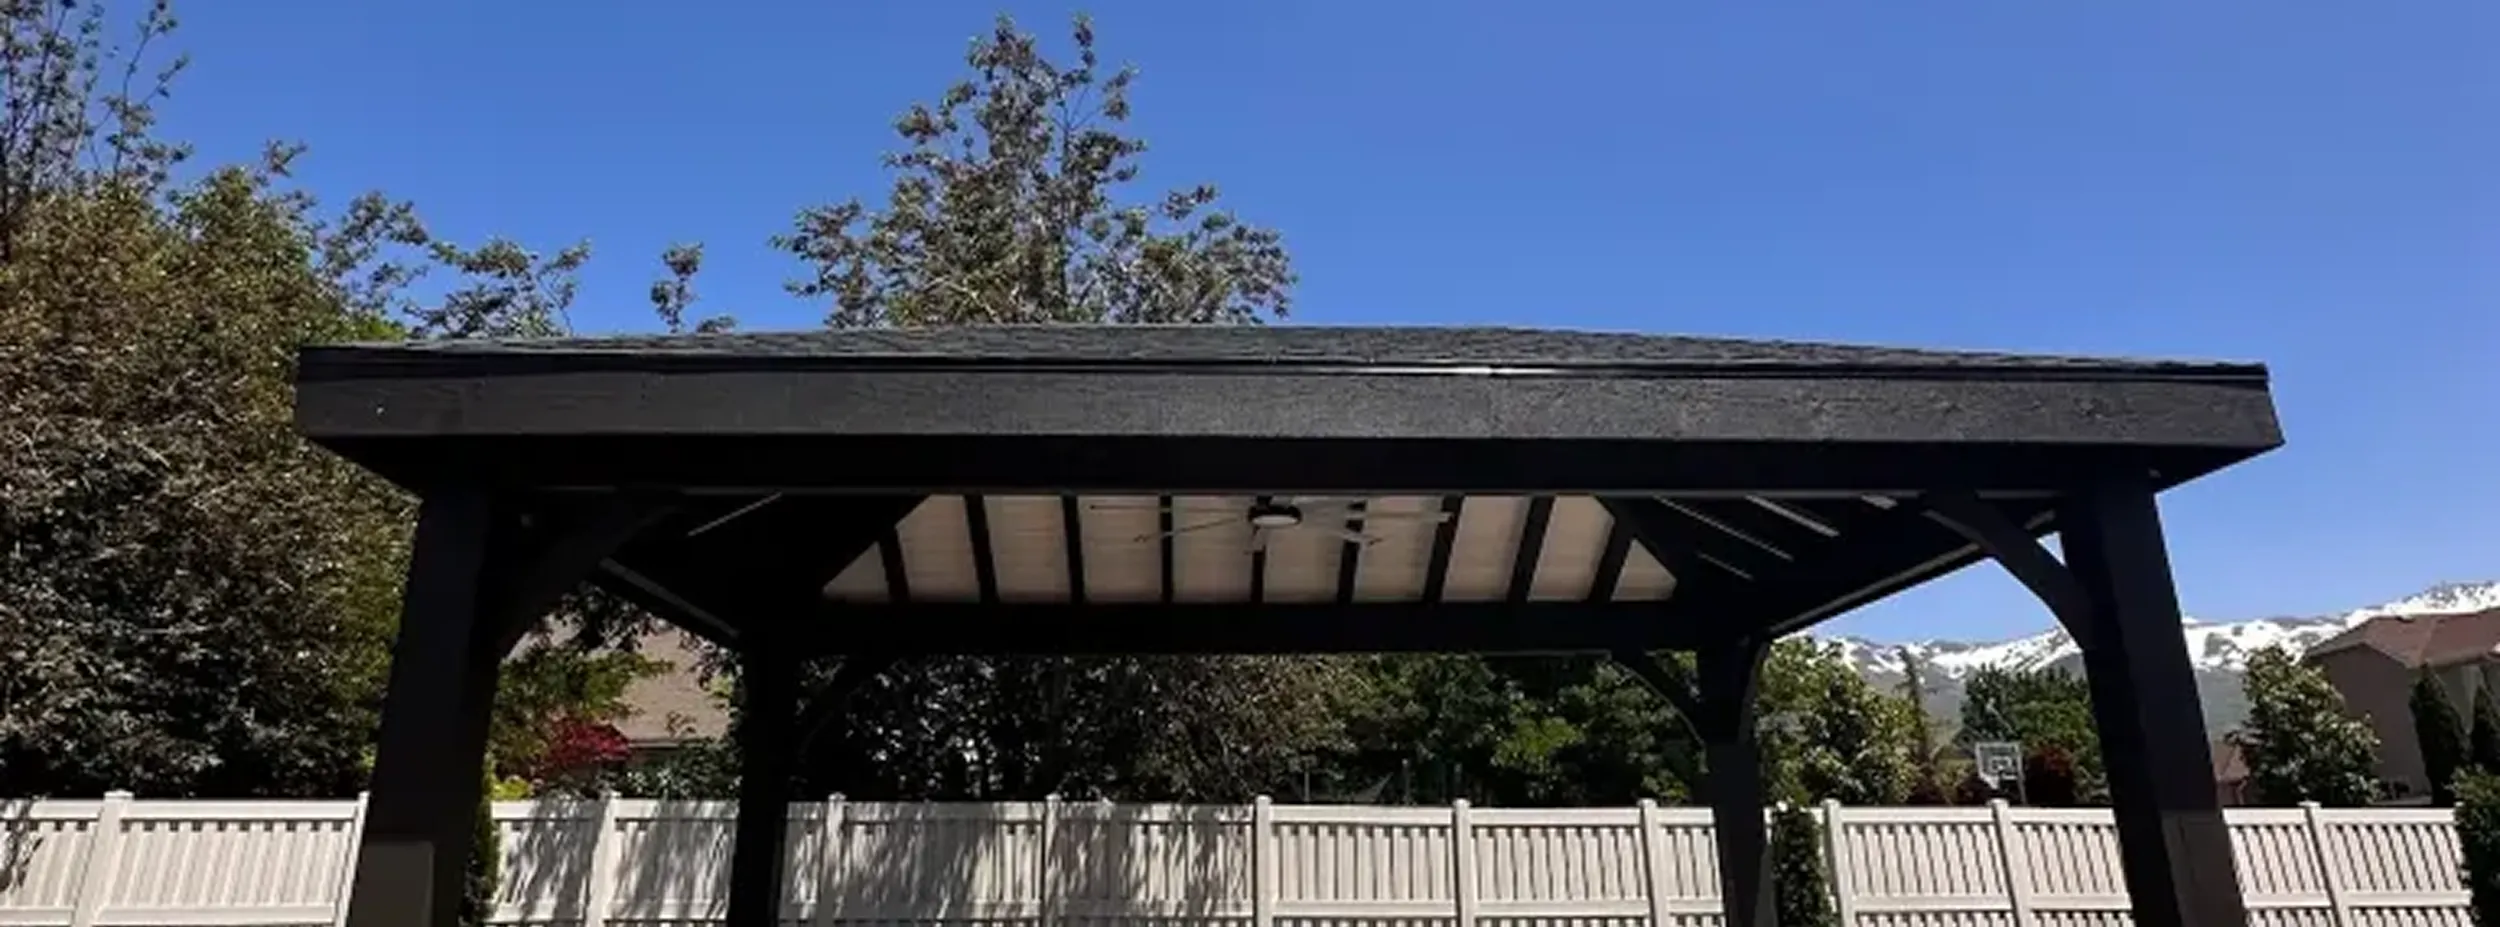
The 10 Steps to Pavilion Perfection
Step 1 — Define Your Purpose: What Will You Use the Pavilion For?
Before anything else, get clear on how you will actually use the space.
Outdoor Dining and Entertaining
A pavilion built for entertaining needs room for a table, chairs, and traffic flow around them. Think about how many people you typically host and whether you want a defined outdoor dining room that mirrors your indoor setup.
Outdoor Kitchen or BBQ Area
If grilling and cooking outdoors are part of your lifestyle, plan for counter space, ventilation clearance, and utility rough-ins from the start. Retrofitting a kitchen into a finished pavilion is always more expensive than planning for it up front.
Hot Tub or Pool Shade
A pavilion positioned over or adjacent to a hot tub needs to account for moisture, clearance heights, and electrical access. Pool-side structures benefit from strategic placement that provides afternoon shade without blocking morning sun.
Relaxation and Everyday Enjoyment
Sometimes the goal is simple: a quiet place to read, unwind, or enjoy the backyard without the full Utah sun beating down. These pavilions tend to be more intimate in scale and can double as a garden retreat.
Step 2 — Choose the Right Pavilion Style
Style affects more than looks. It influences how your pavilion handles Utah snow loads, how it integrates with your roofline, and how much it costs to build.
Gable Pavilions
A gable pavilion features a classic peaked roof with two sloping sides that meet at a center ridge. It pairs well with traditional Utah homes, allows strong airflow, and carries snow efficiently off both sides. It is one of the most popular styles UPC builds.
Hipped Pavilions
A hipped pavilion has four sloping roof sides that meet at a central peak. Its symmetrical form handles high snow loads well, making it an excellent choice for communities along the Wasatch Front where winter accumulation is significant.
Single-Slope (Lean-To) Pavilions
A single-slope pavilion uses one continuous roof plane that angles from high to low. It works well for contemporary homes, properties with height restrictions, or attached configurations that connect directly to your house.
How Style Affects Cost and Function
Gable and hipped roofs involve more framing complexity than single-slope designs, which typically affects overall cost. However, they also provide greater architectural presence and better long-term snow performance. Match your style to your home's existing rooflines for the most cohesive result.
Step 3 — Select Your Size: How Much Space Do You Need?
Getting the size right prevents one of the most common regrets homeowners express after installation: building too small.
Common Pavilion Sizes and What They Fit
- 12×16: Seats 6–8 for dining; fits a standard outdoor table and chair
- 14×20: Accommodates dining plus a seating area or small grill station
- 16×24 and larger: Ideal for outdoor kitchens, large gatherings, or hot tub enclosures
How to Measure Your Backyard for a Pavilion
Mark the intended footprint with stakes and string before committing to dimensions. Walk through the space and simulate how you would use it. Check that you have comfortable clearance from fences, the home, and any landscaping features.
Setback and Clearance Considerations
Most Utah municipalities require accessory structures to maintain a minimum setback of five to ten feet from property lines. Your specific city or county may have additional requirements. UPC reviews these requirements during your consultation, so there are no surprises at permit submission.
Step 4 — Pick Your Material: Douglas Fir vs. Cedar
Material choice affects structural strength, appearance, and long-term maintenance. Both perform exceptionally in Utah's variable climate.
✓ No treated pine or low-grade lumber.
✓ Engineered for Utah snow loads.
Douglas Fir — Strength and Value
Douglas Fir is one of the strongest structural timbers available. It handles Utah's heavy snow loads with integrity and holds fasteners exceptionally well. If structural performance is your top priority, Douglas Fir is the right choice.
Western Red Cedar — Beauty and Durability
Cedar offers natural resistance to moisture, insects, and decay, a meaningful advantage in Utah's variable climate. It is lighter than Douglas Fir, takes stain beautifully, and develops a warm, rich appearance over time.
Feature | Douglas Fir | Western Red Cedar |
Strength | Superior Structural Load | Strong & Lightweight |
Resistance | Best for Snow Integrity | Moisture, Insects, Decay |
Aesthetics | Clean, consistent grain | Warm, rich character |
Maintenance | Stain to preserve color | Takes stain beautifully |
Which Material Is Right for Utah's Climate?
Utah presents a demanding combination: dry summers, intense UV exposure, and heavy winter snow at higher elevations. Both Douglas Fir and Cedar perform well in these conditions. For larger, structurally demanding pavilions, Douglas Fir is typically the preferred choice. For aesthetics and natural weather resistance, Cedar is hard to beat.
Step 5 — Set a Realistic Budget
Understanding pavilion costs upfront helps you plan smarter and avoid sticker shock later.
What Affects Pavilion Pricing
- Size: Larger footprints require more material and labor
- Style: Hipped and gable roofs involve more framing complexity than single-slope designs
- Material: Cedar typically runs higher than Douglas Fir
- Add-ons: Electrical rough-ins, decorative corbels, ceiling fans, and custom staining all affect the final number
- Site conditions: Sloped yards or complex foundation requirements can add cost
Budget Ranges for Common Sizes
Pavilion pricing varies widely based on design and site specifics. As a general reference, smaller residential pavilions typically start in the mid-thousands, while larger or more elaborate custom structures can reach well into the five-figure range.
Request a custom quote from Utah Pavilion Company for accurate pricing on your specific project.
How to Avoid Surprise Costs
Get a detailed written estimate that breaks down materials, labor, permitting fees, and any site preparation. Ask specifically about what is and is not included. A transparent builder will never leave you guessing.
Ready to get a ballpark for your project? Get a Free Quote from Utah Pavilion Company — no obligation, no pressure, just expert guidance.
Step 6 — Understand Permits and HOA Rules in Utah
Skipping the permit step is one of the costliest mistakes a homeowner can make.
When Do You Need a Building Permit?
Most Utah cities require a building permit for any permanent roofed structure, including pavilions. This typically involves submitting structural plans and snow load calculations. Requirements vary by municipality, so what applies in Layton may differ from Farmington or Kaysville.
HOA Restrictions to Watch For
Many Utah communities, particularly in Davis and Weber Counties, have active HOAs with design guidelines covering structure height, roof pitch, material color, and placement. Review your CC&Rs before finalizing your design.
How Utah Pavilion Company Helps with the Permit Process
Utah Pavilion Company manages permit submissions and city coordination as part of the project process. We identify local requirements early and ensure your structural plans meet code before breaking ground.
Step 7 — Plan for Electrical, Lighting, and Extras
A pavilion without electrical planning is a missed opportunity.
Pre-Wiring for Fans, Lights, and Outlets
Running conduit during construction costs a fraction of what it costs to add later. Plan for ceiling fan locations, pendant lighting, outdoor outlets, and any future outdoor kitchen appliances before the structure goes up.
Popular Add-Ons: Curtains, Privacy Walls, and More
Decorative curtain tracks, privacy screens, outdoor heaters, and built-in benches are popular additions that significantly improve year-round usability. Consider how Utah's shoulder seasons, cool spring evenings, and crisp fall afternoons might influence what features matter most to you.
Step 8 — Choose Between a Custom Build and a Pavilion Kit
Both options have merit. The right choice depends on your goals, timeline, and budget.
Pros and Cons of Each Option
Custom Build: Fully tailored to your site, HOA requirements, and home architecture. Includes permitting support, professional installation, and engineered joinery. Higher upfront investment.
Pavilion Kit: Pre-cut, pre-labeled, and shipped nationwide. More affordable entry point. Requires DIY assembly and does not include permit support or custom sizing.
Why Most Utah Homeowners Choose Custom
Utah's snow load requirements, active HOA communities, and diverse home styles make a site-specific custom build the smarter long-term investment for most homeowners. A custom structure integrates with your home rather than sitting next to it.
Step 9 — Think About Placement and Orientation
Where you place your pavilion affects how much you actually use it.
Sun, Shade, and Wind Patterns
Orient your pavilion to provide shade during peak afternoon hours, typically from the west and southwest in Utah. Note prevailing wind direction and consider whether a privacy wall on one side would improve comfort.
Views and Proximity to Your Home
Position the pavilion to frame a desirable view and minimize unattractive sight lines. Proximity to your kitchen or living room door makes the space far more functional for everyday use.
Utility Access and Drainage
Check for underground utilities before staking your footprint. Ensure the site drains well and will not collect standing water under the structure after Utah's spring storms.
Step 10 — Select Your Builder: Questions to Ask Before You Hire
The builder you choose shapes everything from design accuracy to long-term structural performance.
Experience and Portfolio
Ask to see completed projects similar in size and style to what you have in mind. Local experience in Utah communities matters. A builder familiar with Davis County permit offices and HOA approval processes will move faster and more accurately than one who is not.
Materials and Craftsmanship Standards
Ask specifically: What timber species do you use? How do you join your beams? A quality builder uses structural-grade Douglas Fir or Cedar with mortise and tenon joinery, not metal brackets and treated pine. Explore the full range of pavilion styles we build to understand what craftsmanship looks like in practice.
Warranty, Timeline, and Communication
Get a clear project timeline in writing and understand how the builder communicates through each stage. Ask about their warranty on both materials and workmanship. The best pavilion builders are easy to reach, honest about schedules, and stand behind their work.
Your Backyard Pavilion Planning Checklist
Use this checklist to stay organized as your project moves forward:
- Define your primary use case (dining, kitchen, hot tub, relaxation, etc.)
- Choose a pavilion style that matches your home and site
- Determine your ideal size and measure your backyard
- Research local setback requirements for your city or county
- Select your timber material: Douglas Fir or Cedar
- Set a realistic budget and request a detailed written estimate
- Identify HOA restrictions and design guidelines
- Plan for electrical, lighting, and any add-ons during the design phase
- Decide between a custom build and a kit
- Map out placement based on sun, wind, views, and utility access
- Vet your builder on experience, materials, joinery, and communication
- Schedule your consultation and submit for permits
Finished your planning? Let's talk about the build.
Start Building the Space You Have Been Imagining
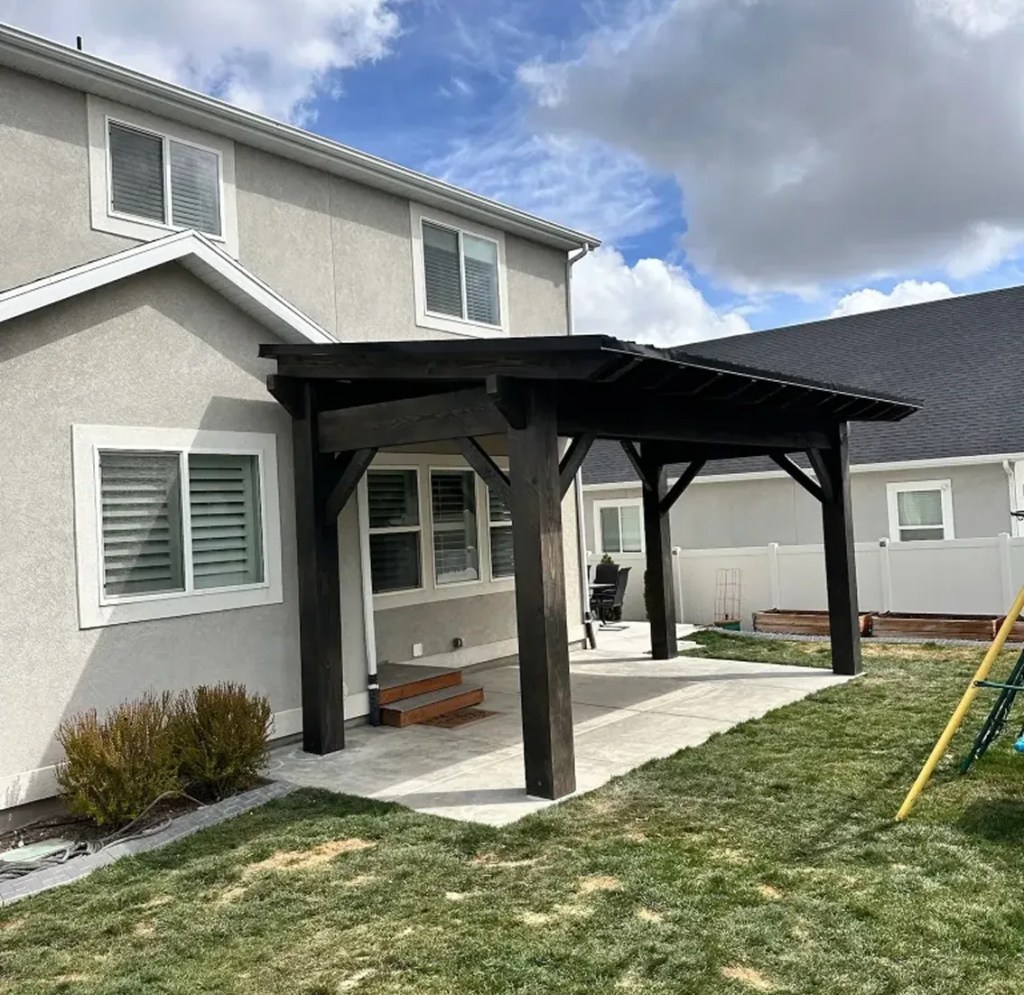
Now that you know how to plan a backyard pavilion from the ground up, the next step is simple: have a conversation with someone who builds them every day.
Utah Pavilion Company designs and builds custom timber frame pavilions for Utah homeowners who want structures that last decades, not seasons.
We handle everything: design, engineering, permitting, and installation, so you can focus on what matters: enjoying the finished space.
Let’s Build Your Pavilion — Your Way
Tell us a little about your project, and we’ll help you take the next step. To book an appointment and view our impressive selection of Utah pavilions, get in touch with us.
Utah Pavilion Company is a premier provider of high-quality pavilions for residential backyards, commercial venues, parks, and more. We design and manufacture custom outdoor structures that bring lasting beauty, function, and value to your space.
- Based in Utah – Serving local installs & nationwide kits
- (801) 900-0633
- info@utahpavilioncompany.com
Get a Free Quote
Frequently Asked Questions
How long does it take to install a backyard pavilion in Utah?
Most full-service timber frame pavilion installations in Utah take just 1–2 days on-site, depending on size and layout. Once your site is prepped, Utah Pavilion Company's crew handles the entire installation quickly and cleanly. Larger or more customized structures may require additional time. Your project timeline is confirmed in writing before construction begins, so there are no surprises.
What pavilion styles does Utah Pavilion Company offer?
Utah Pavilion Company builds five pavilion styles: gable, hipped, single slope, modern single slope, and attached single slope. Each style is fully customizable in size, timber species, roof pitch, stain color, and joinery detail. Whether you want a classic backyard pavilion or a sleek contemporary structure, every design is made to order and tailored to your specific property and home architecture.
Do I need a building permit to build a backyard pavilion in Utah?
Yes, in most Utah municipalities. A building permit is typically required for any permanent roofed outdoor structure, including timber pavilions. Permit requirements vary by city. What applies in Layton may differ from Farmington or Kaysville. Utah Pavilion Company reviews all local zoning rules, setback requirements, and snow load calculations during your consultation and manages the permit submission process on your behalf.
Can Utah Pavilion Company ship a pavilion kit outside of Utah?
Absolutely. Utah Pavilion Company offers pre-cut, pre-drilled timber pavilion kits shipped nationwide. Every kit is labeled and includes everything needed for DIY-friendly assembly, along with installation guides and layout diagrams. Kits use the same premium Douglas Fir or Cedar and traditional mortise and tenon joinery found in local Utah builds, never treated pine or low-grade lumber substitutes.
Does Utah Pavilion Company help with HOA approvals?
Yes. HOA restrictions are common across Davis County, Weber County, and many Wasatch Front communities, covering structure height, roof pitch, material finishes, and placement. UPC reviews your CC&Rs and HOA design guidelines during the consultation phase and incorporates those requirements into your custom pavilion design before submitting plans, reducing the risk of rejection or costly redesigns later in the process.
What is the difference between a custom-built pavilion and a pavilion kit?
A custom build is fully designed for your site, engineered for Utah snow loads, and installed by UPC's crew with permitting support included. A pavilion kit is a more affordable DIY option shipped nationwide, ideal for homeowners outside Utah or those who prefer hands-on assembly. Both options use structural-grade timber and traditional joinery, no metal brackets, no treated pine.
How much does a custom timber pavilion cost in Utah?
Pavilion cost depends on size, style, material, and site conditions. Smaller residential pavilions typically start in the mid-thousands, while larger custom structures with add-ons like outdoor kitchens, electrical rough-ins, or decorative corbels can reach well into the five-figure range. Because every backyard pavilion is built to order, Utah Pavilion Company recommends requesting a free custom quote for accurate project pricing.
Which timber is better for a Utah backyard pavilion — Douglas Fir or Cedar?
Both are excellent choices for Utah's climate. Douglas Fir offers superior structural strength and handles heavy snow loads exceptionally well, making it ideal for larger pavilions along the Wasatch Front. Western Red Cedar provides natural resistance to moisture, insects, and UV exposure, making it a beautiful long-term choice for aesthetics and weather durability. UPC helps you choose the right material based on your specific design and site needs.
Can I customize the size, stain, and design of my pavilion?
Yes, every pavilion UPC builds is made to order. You can customize beam sizing, roof pitch, timber species, stain and finish color, decorative corbels, and overall dimensions. Utah Pavilion Company also provides engineered plans stamped for your state when required for permitting. No two pavilions are identical, each structure is designed specifically for the homeowner and the property it sits on.
What makes Utah Pavilion Company different from other pavilion builders?
Unlike generic kit resellers, Utah Pavilion Company is a hands-on, Utah-based builder that designs, engineers, and installs every structure in-house. UPC uses traditional mortise and tenon joinery, no visible metal brackets, and builds exclusively with structural-grade Douglas Fir or Cedar. Every backyard pavilion is engineered for Utah's snow loads, customized to your home's architecture, and backed by transparent pricing, clear timelines, and direct communication from start to finish.